Factory making Plastic Extrusion - Plastic Injection Parts – Ruicheng
Product Details
Factory making Plastic Extrusion - Plastic Injection Parts – Ruicheng Detail:
Project Analysis:
After receiving 3d drawings and requirements from customers, our engineer team will evaluate its structures and dimensions to discuss and consider how to design the mold ( such as the injection gate, pins, draft angle etc.)
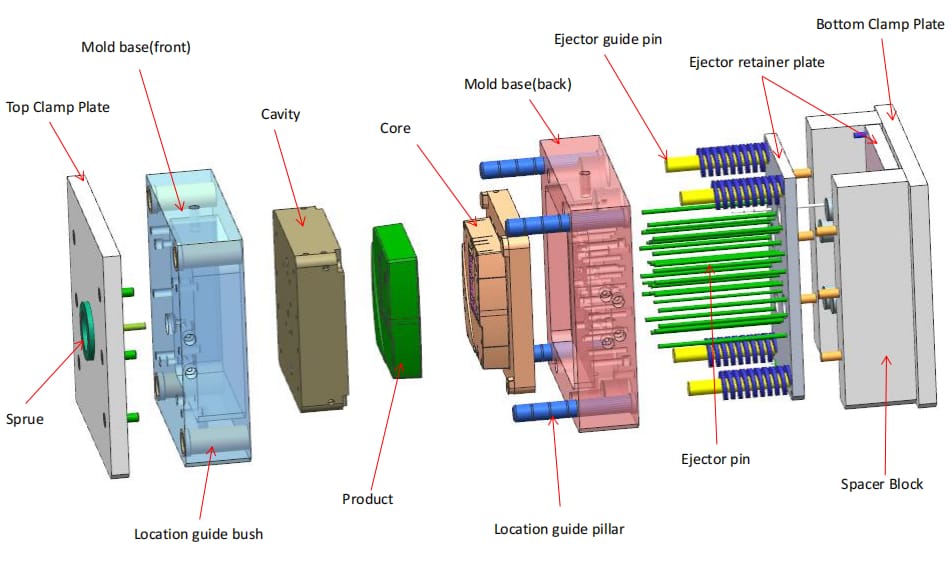
Production Process:
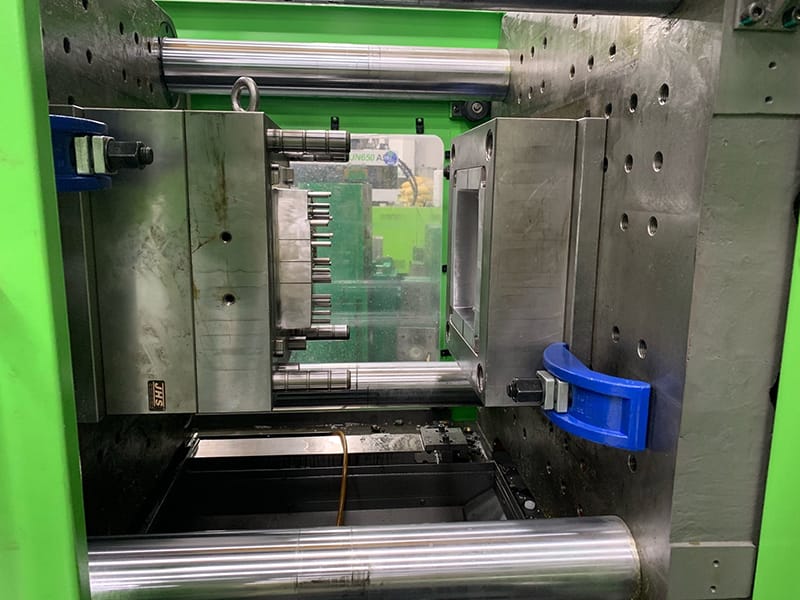
1. Clamping:
The tool closes, signifying the start of the injection molding cycle.
2. Injection:
The polymer granules are first dried and placed in the hopper, then they are fed into the barrel, where they are simultaneously heated, mixed and moved towards the mold by a variable pitch screw. The geometry of the screw and the barrel are optimized to help build up the pressure to the correct levels and melt the material.
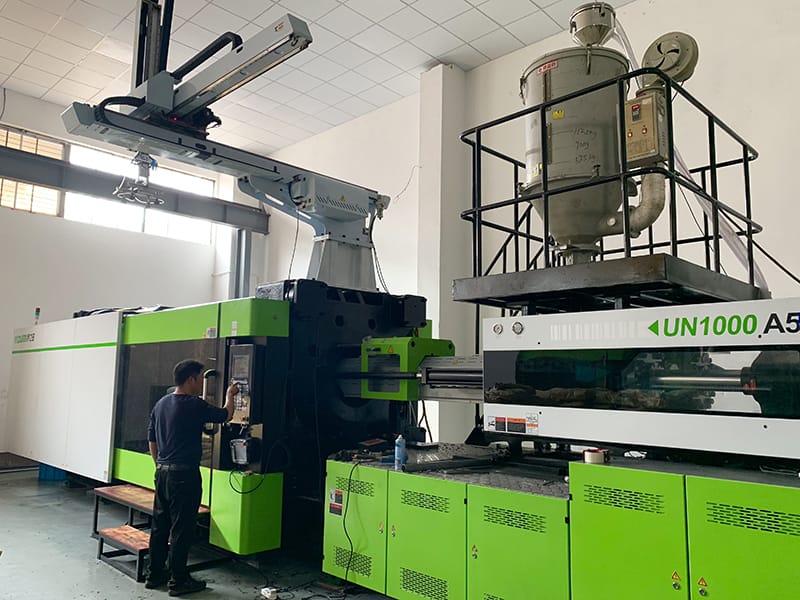
3. Cooling:
After the tool cavity is filled, the resin must be allowed to cool. Water is cycled through the tool to maintain a consistent temperature while the material hardens.
4. Ejection
As the material cools down, it re-solidifies and takes the shape of the mold. Finally, the mold opens and the solid part is pushed out by the ejector pins. The mold then closes and the process repeats.
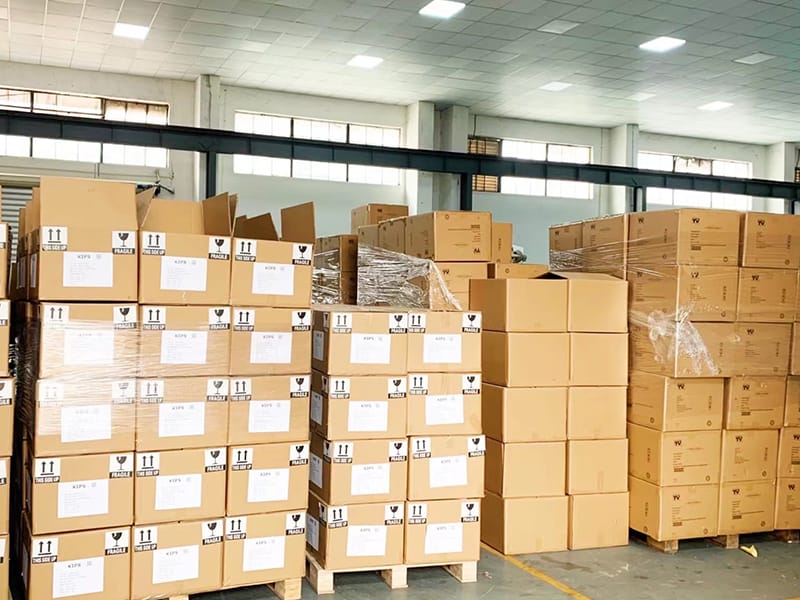
5. Package
The finished products will be packed by using plastic bag and put into cartons. Special packaging requirements, can also be customized according to the needs of customers .So that every product will be delivered in the good condition.
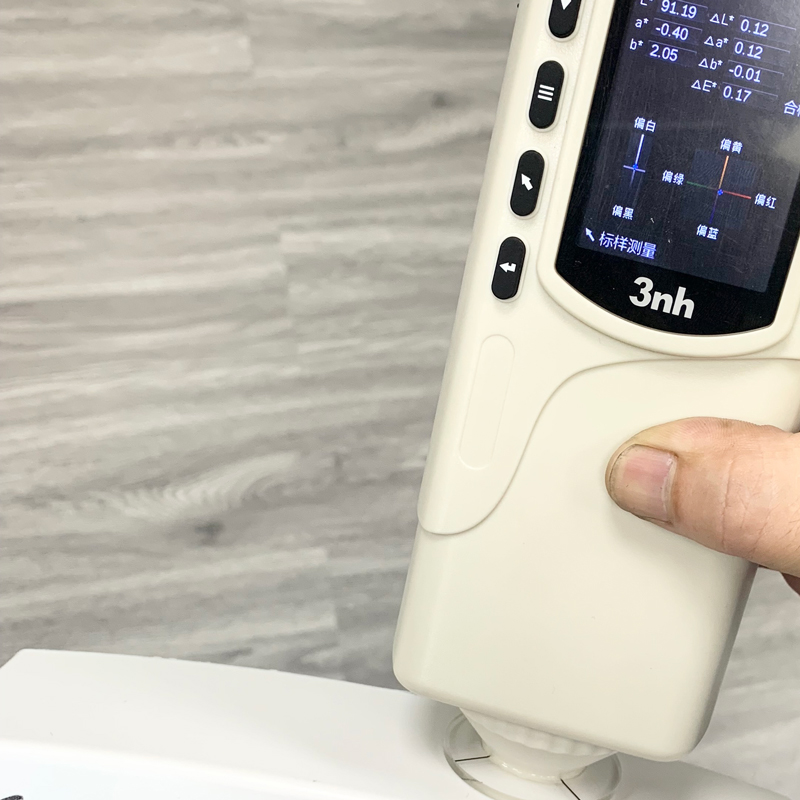
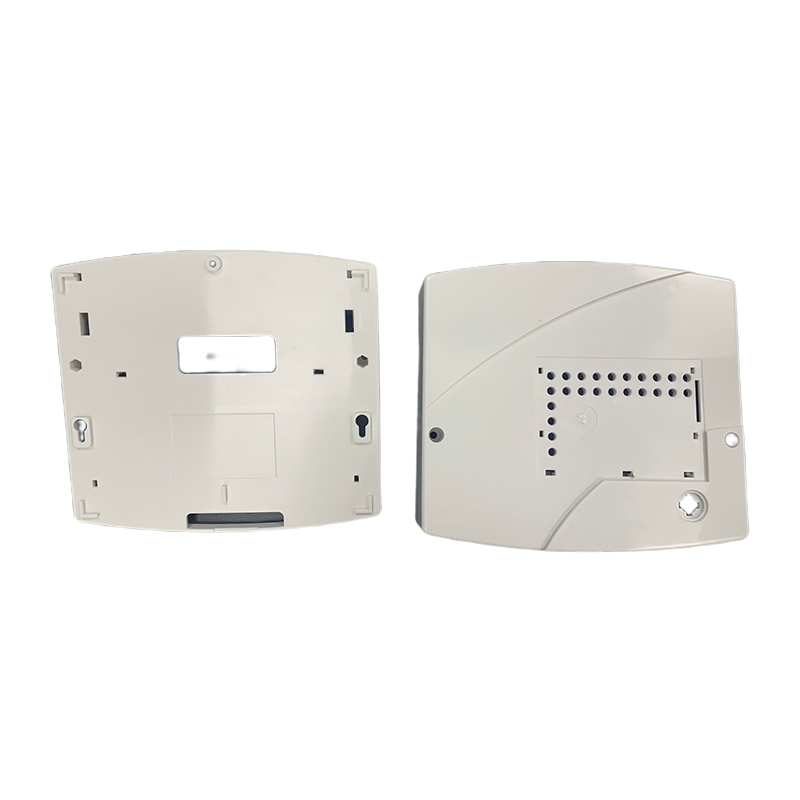
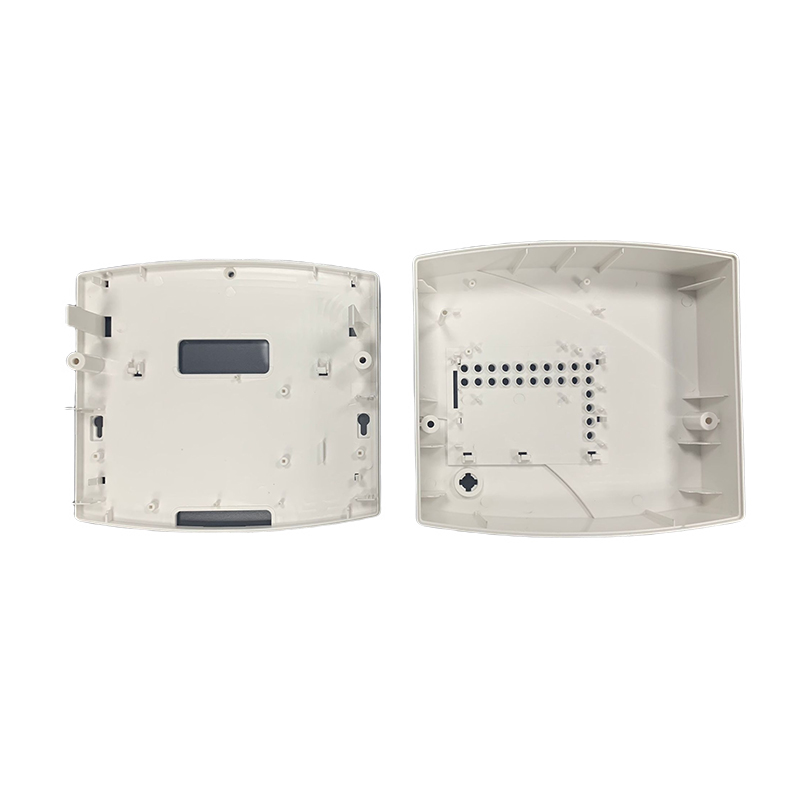
Product detail pictures:

Related Product Guide:
While using the "Client-Oriented" company philosophy, a demanding high-quality management method, innovative producing products and also a sturdy R&D workforce, we always deliver premium quality merchandise, superb solutions and aggressive selling prices for Factory making Plastic Extrusion - Plastic Injection Parts – Ruicheng , The product will supply to all over the world, such as: South Korea, Hongkong, Sydney, Our company offers the full range from pre-sales to after-sales service, from product development to audit the use of maintenance, based on strong technical strength, superior product performance, reasonable prices and perfect service, we'll continue to develop, to supply the high-quality goods and services, and promote lasting cooperation with our customers, common development and create a better future.
This manufacturers not only respected our choice and requirements, but also gave us a lot of good suggestions, ultimately, we successfully completed the procurement tasks.
